This is the SIMPLEST New York Style pizza I have ever made at home, and it is LEGIT delicious.
The recipe below took a few years of adaptation, but it’s the one I make most weeks at home now. I use either 100% bread flour or 50/50 bread & all-purpose mix for the dough, and a 10-minute hand-kneading. And while I usually cold-proof mine in the fridge for about 48 hours–you can EASILY MODIFY this recipe for same-day dough, or a mouth-water 72-hour ferment 🍕

How to Make New York Style Pizza Dough:
Honestly, this recipe is super simple. You’ll first want to figure out how much pizza you need and how long you want to cold proof (if at all), as this determines the precise yeast amount, etc. Then you make the dough, store it (properly!!), pull it out to room temperature for a final rise, then stretch & bake & eat 🙂

Another SUPER interesting thing about this recipe is that you can also control the “crunchy vs soft/chewy” crust (to a degree), even from one pizza to the next (that used the same dough).
Here’s what you’ll need:
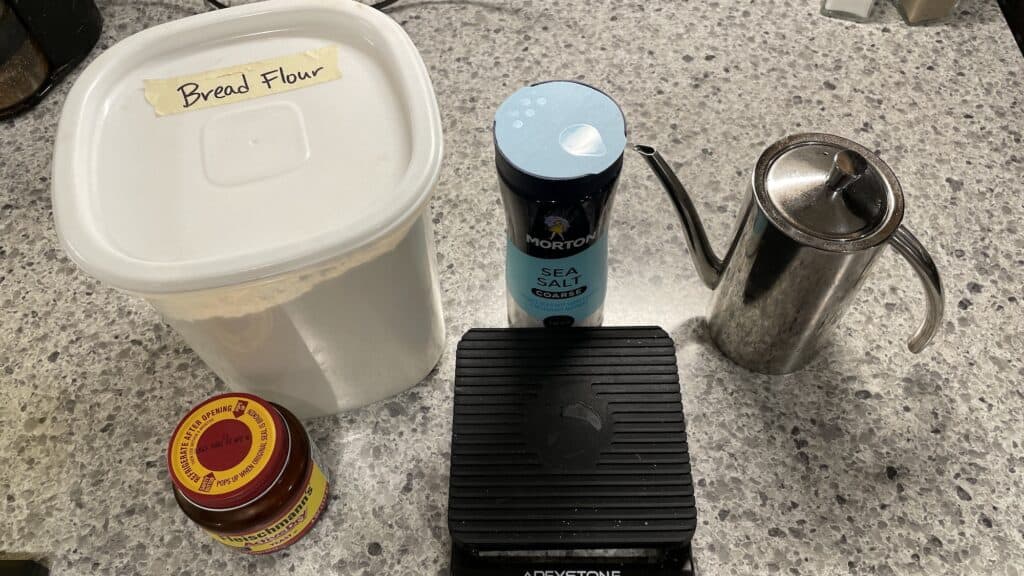
The Ingredients
- Bread flour: Rises well and gives a chewier crust (all-purpose also works, and I actually use a 50/50 mix of both). Do not use Tipo 00 flour in your home oven.
- Water: Filtered and warm (to better activate the yeast)
- Yeast: I use Active Dry Yeast, but you can also use Instant Dry Yeast (or even fresh yeast, but it’s a pain to find in some places)
- Olive Oil: For crust texture & taste
- Sugar: For taste, but should also help your crust BROWN and char!
- Salt: For flavor
- Pizza Sauce: I usually buy canned San Marzano tomatoes (crushed) and mix up my own sauce (recipe below), but you can also use a pre-made pizza sauce
- Cheese: Low-moisture mozzarella in a brick (preferably whole milk if you can find it). Never use pre-shredded cheese!
- Toppings: Pepperoni much??
Baker’s Percentage for New York Style Pizza Dough
Here’s a baker’s percentage recipe for my adapted NY style (learn more about baker’s percentages here).
| Flour | 100% |
| Water | 60% |
| Yeast | 0.15% (if ADY, you might need less with IDY) |
| Salt | 1.7% |
| Oil | 1.5% |
| Sugar | 0.9% |
NOTE: This is for 5 hours of room temperature proofing, and 43 hours of cold proofing. You’ll want to adjust your yeast amount depending on your proofing time! (Use a pizza calculator, see below).
The Directions
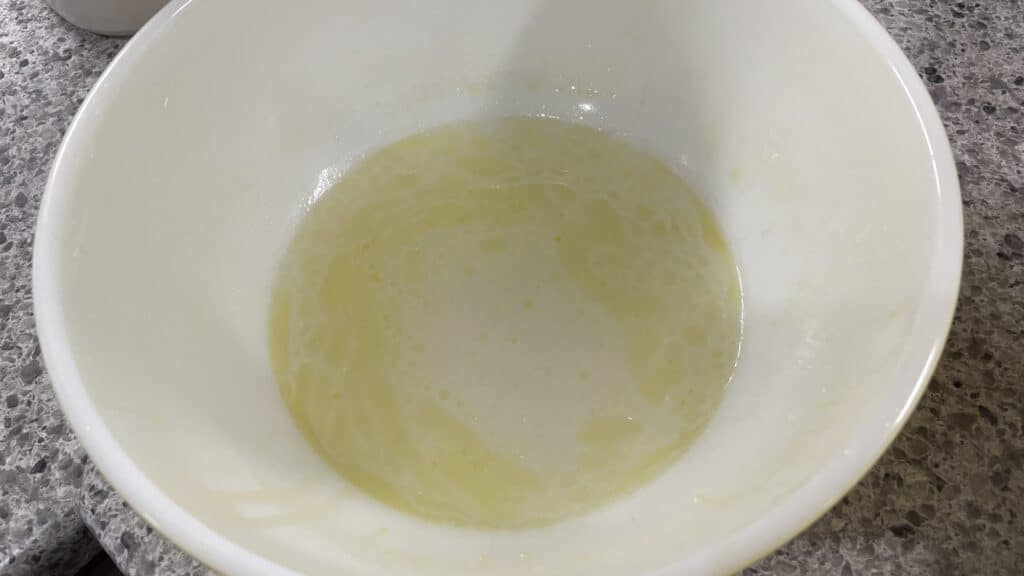
1 – Warm your water in a microwave (else boil some water and mix it with cold water). It should be warmer than room temperature, but not unbearable to touch! Add your yeast, oil, and sugar to the water and stir.
Optional: Wait 5-10 minutes to see if the mixture bubbles (meaning the yeast is active and working). If your yeast is old, you might check this!
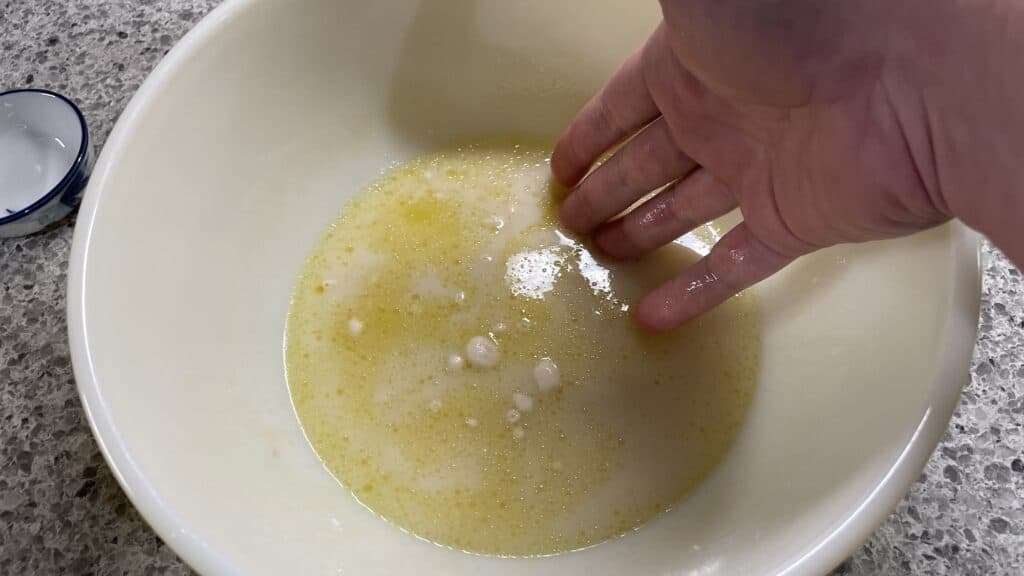
2 – Mix a handful of flour into the bowl (to dilute it), then add your salt. Stir it until the salt is dissolved.
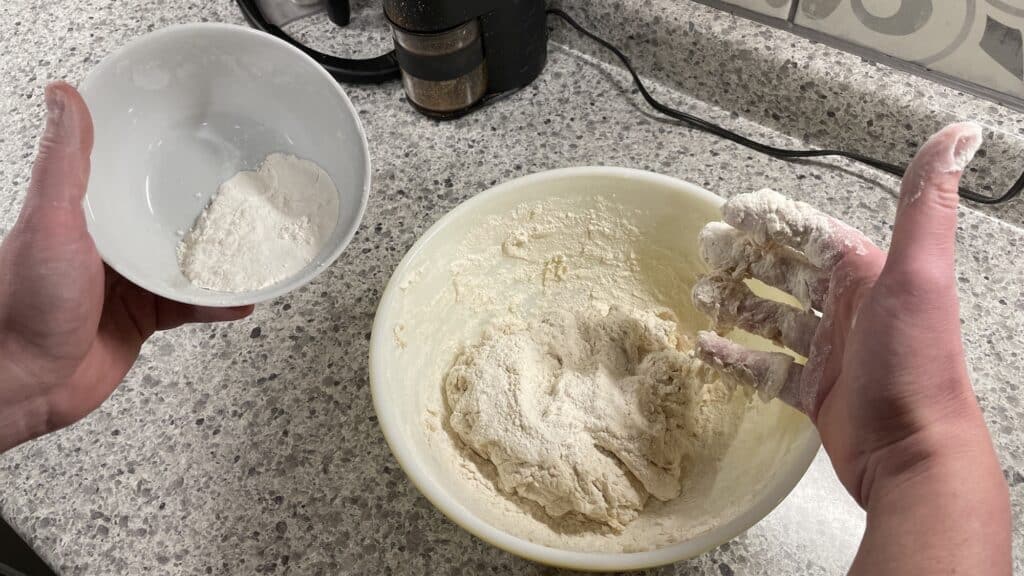
3 – Add the remaining flour, mixing as you go, until combined. TIP: Leave a bit of flour out for flouring your work surface for kneading! It’ll get mixed in eventually.
4 – Hand-knead the dough for 8-10 minutes. There are several ways to knead dough, but you basically just press down and roll the dough, then fold it into itself, then repeat.
5 – Once the doughball is springy and spongy (press your finger into it and it should snap back fairly well), return to a bowl, cover it well, and proof at room temperature for about 2 hours.
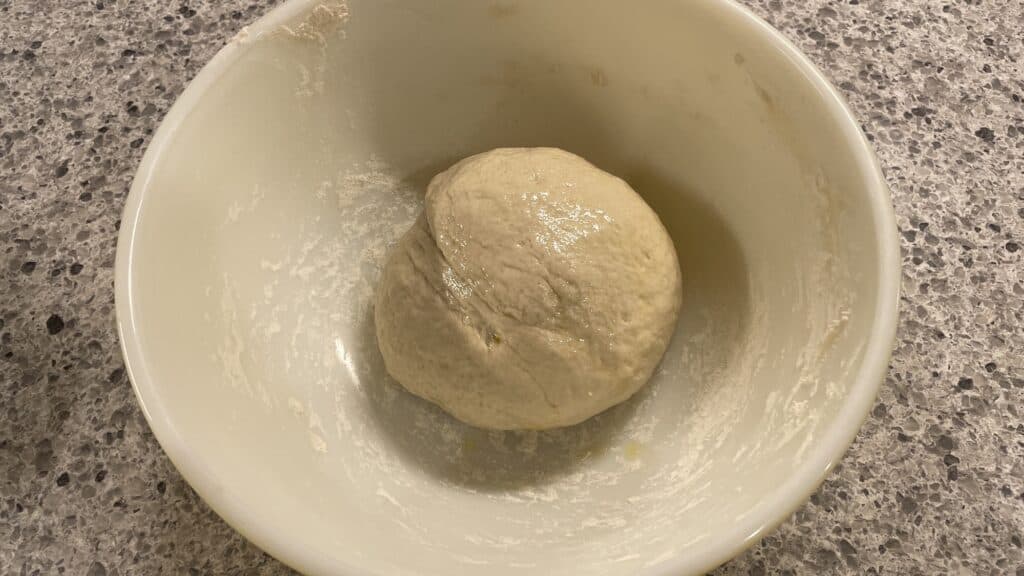
6 – Separate into individual dough balls (this recipe yields three 260g dough balls, which are around 12″ pizzas. You could also do two larger pizzas!), place into a proofing container (or proofing bowls), and put in the refrigerator for 43 hours.
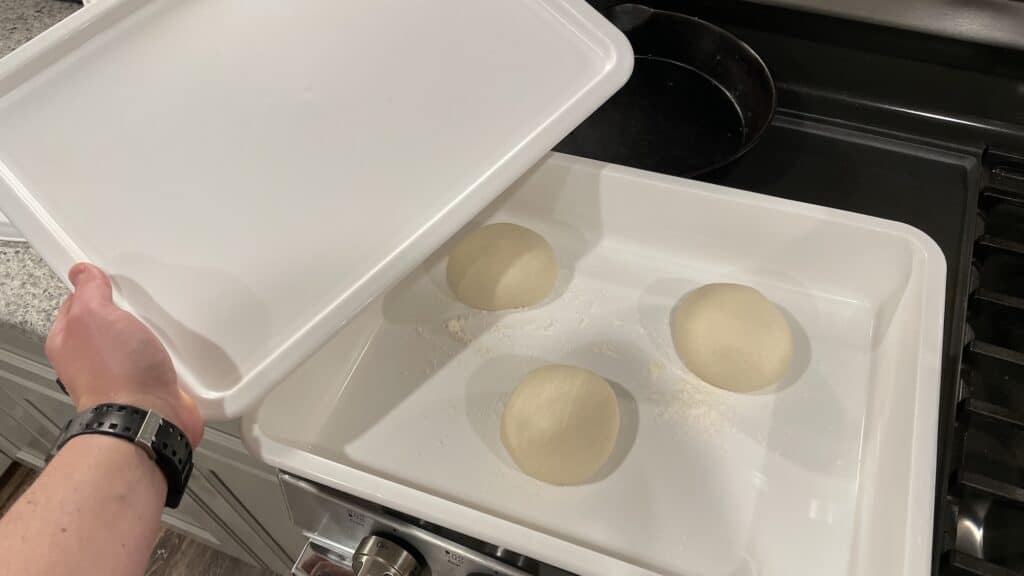
How I cold-proof my dough:
There are lots of ways to cold-proof dough.
Do you immediately stick the entire dough ball in the fridge for “bulk proof?” Do you separate them into smaller dough balls and THEN cold-proof? Here’s my preferred method of cold-proofing:
- Bulk proof immediately after kneading: room temperature for 2 hours
- Separate into pizza-sized doughballs (this recipe is roughly 260g per doughball)
- Place in a proofing container and put in the fridge for 48ish hours.
- Remove from fridge 3-4 hours before baking for final proof.
7 – Remove dough from the refrigerator 3-4 hours before baking for final proof.
Directions for Stretching & Baking
8 – Place your pizza stone or pizza steel into the oven and preheat it on 550F degrees (or as high as your oven will go) for at least 45 minutes. The stone/steel needs that long to get properly HOT.
9 – OPTIONAL: Prepare your sauce! See the recipe card below for my sauce recipe, but you can also use pre-made sauce.
10 – Using a scraper (or spatula or your fingers) and some flour–gently remove a doughball for stretching. Don’t press in the dough while doing this! Try to keep it in it’s shape!
11 – Immediately place the dough into a bowl of flour to lightly coat each side, then place the dough on your work surface
12 – Stretch your dough. Pressing in from the center out to the edges, gently form the crust. I recommend watching this video for my stretching technique.
13 – Once your dough is shaped, add a large spoonful of sauce in the center of the dough, and spread it out in a circular motion to the edges.
14 – Add toppings and cheese (try to do this step fairly quickly–once your dough is stretched and toppings added, it’ll get heavy and sticky, and more difficult to launch into the oven).
15 – Move the pizza to your pizza peel. I spread a tiny amount of semolina flour on the peel first, to help with sticking. This works better than all-purpose flour (because it’s coarser).
16 – Launch the pizza onto the pizza stone/steel.
17- Bake for 4-6 minutes, or until the bottom of the crust is starting to char black, and the top of the crust is starting to brown and char!
NOTE: If you want to level up New York Style pizza, launch your pizza onto the stone, then turn your oven onto broiler mode (on high). The stone/steel will cook the pizza, and the broiler will make sure the top crust is nice and browned. Just watch it closely! That broiler will overcook things fast!
Recommended Tools
- Pizza stone or baking steel: YOU NEED ONE. These are crucial for quick bakes and charring the crust! I upgraded to the Nerd Chef Pizza steel and use it for ALL pizzas at home.
- Digital Scale. If you’re a serious pizza maker, you’ll probably use baker’s percentages and weigh your ingredients! My simple Apexstone scale has lasted YEARS.
- A large mixing bowl. Use whatever you have! I bought an extra large steel bowl and love it.
- A pizza peel. I prefer a large wooden peel (here’s the one I have) for launching pizzas, and a metal peel for turning and retrieving pizzas (I use the one that came with my Ooni).

Easy New York Style Pizza Recipe
Ingredients
DOUGH
- 450 gram Bread flour
- 270 gram Warm water
- 0.68 gram Active Dry Yeast
- 7.65 gram Salt
- 6.75 gram Olive Oil Extra virgin
- 4.05 gram Sugar
PIZZA SAUCE (Optional, else use pre-made)
- 0.5 can San Marzano tomatoes, crushed (save the other half for the next pizza)
- 2 tsp Salt
- 2 tsp Oil
- 1 tsp Oregano
- 1 tsp Sugar
TOPPINGS
- 1 brick Mozzarella Cheese (hand-shredded) Buy the brick and shread just before baking
- 1 handful whatever toppings you want (pepperoni)
Instructions
- Warm up water and add yeast, oil, and sugar
- Add a pinch of flour and salt, then mix. Then add the rest of the flour and mix until combined
- Hand knead for 10 minutes (or use a bread mixer for 10 mins, then hand knead for 1-2 minutes)
- Cover and proof for 2 hours at room temperature
- Separate into 3 equal dough balls (or 2 for larger pizzas), and place in a container, then into the refridgeratorfor 41-42 hours
- Remove and proof for 3-4 hours at room temperature before stretching
- Place pizza stone/steel in oven and preheat to 550F degrees (or 500-525 if your oven doesn't go that high)
- Gently stretch dough balls (see detailed instructions above), spoon and spread sauce, then any toppings and mozzarella cheese
- Load onto lightly-floured pizza peel, then launch onto the pizza stone/steel in the oven
- Bake for 4-6 minutes, or until the crust starts to brown (OPTIONAL: Switch the oven to the broiler for the 2nd half of the bake for a more browned and crunchy crust)
NY-Style Dough F.A.Q.s
What makes NY pizza dough different?
NY-style pizza dough is usually thin and floppy, circular, and is stretched out by hand instead of rolled with a rolling pin, which helps create a bubbly, crispy crust. It’s also made with high-gluten flour (standard bread flour usually, although you can also use all-purpose or a mix of both), which gives the dough enough stretch to result in a larger but thinner pizza. The dough is sometimes thin and floppy (but that’s ok!). And finally, NY pizza dough is cooked in a really hot oven, which helps to create that perfect balance of crispy crust and gooey, melted cheese.
Which flour is best for New York style pizza?
If you have access to a high-temperature pizza oven, you can use bread flour or Italian Tipo 00 flour (used for Neapolitan pizzas). If you’re cooking in a home oven (which only reaches around 550F degrees), you should NOT use Tipo 00 flour, and instead stick with either bread flour, all-purpose, or a mix of both.

